Klipper / Creality / Voron (via Moonraker)
Outline
Connecting Klipper-Based Printers to Polar Cloud Using Our Installer
Easily connect your Klipper-powered 3D printer to the Polar Cloud using our official installer. Follow these steps to set up the integration and start managing your prints from anywhere.

Introduction
If your printer runs on Klipper, you can now link it directly to the Polar Cloud for remote print management, job history, timelapses, and more. We’ve created a simple installer that streamlines the entire process — no manual setup required.
What You’ll Need
A Klipper-based printer (running on a Raspberry Pi or similar device)
Internet access on your Klipper host
Your Polar Cloud account credentials (see here 🔗)
About the Installer
Our installer automatically:
Installs the Polar Cloud Agent on your Klipper device
Configures secure communication with Polar Cloud
Creates a service so the agent runs in the background on startup
This means you can go from zero to connected in minutes without editing multiple config files.
Video Walkthrough
How to Install:
- Open a terminal on your Klipper host device (SSH into your Pi or 3D printer mainboard)
- Run the installer commands, in order. Clone the repository, CD into the folder, then run the install script (./install.sh)
- Visit {your.printers.ip}/polar-cloud/ and fill out the necessary fields
- Click "Connect to Polar Cloud"
Troubleshooting Tips:
- Run systemctl status polarcloud-agent to confirm the service is active.
- Export logs to see what might be failing behind the scenes. There is a button to easily export logs, on the /polar-cloud/ page.
Links & Resources
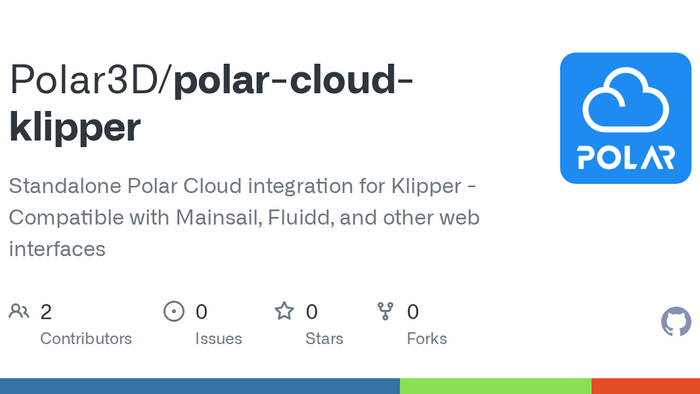
GitHub - Polar3D/polar-cloud-klipper: Standalone Polar Cloud integration for Klipper - Compatible with Mainsail, Fluidd, and other web interfaces
Standalone Polar Cloud integration for Klipper - Compatible with Mainsail, Fluidd, and other web interfaces - Polar3D/polar-cloud-klipper
What's Next?
Now that your printer is connected:
Slice and print directly in the browser
Access print history and requeue past jobs
Enable timelapse videos for supported setups